LESSON PREVIEW: Which watchOS am I using?
/in News from Noteboom, Newsletter Premium, Newsletter Preview, Teaser/by Dan WassinkSee what I am working on before it is released. This video is from my upcoming Tutor for Apple Watch with watchOS 5.
What you’ll learn in this teaser lesson from Tutor for Apple Watch with watchOS 5:
• How to find out which watchOS you are using from the Apple Watch
• How to find out which watchOS you are using from the Watch app on the iPhone
Get more detail from the Weather App on the iPhone
/in Newsletter Premium, Newsletter Preview, vTip for iPhone/by Dan WassinkDid you know you could get more weather detail from the Weather app on the iPhone? Just open the Weather app and go to the location you need more detail on. From there, tap on the Weather Channel icon in the lower left corner. Safari will open to weather.com and you’ll be able to see more weather detail for your selected location.
How to Force Quit an App on the Mac
/in Newsletter Premium, Newsletter Preview, vTip for Mac/by Dan WassinkNeed to force quit an app you are having an issue with on the Mac? Just go to the Apple Menu, select Force Quit, and then select the app you want to force quit and click on the Force Quit button. The app will quit. When you do this, any changes you made since the document was last saved, may be lost.
How to report a location error in Apple Maps on the iPad
/in Newsletter Premium, Newsletter Preview, Social Share, vTip for iPad/by Dan WassinkHave you found an error in Apple Maps that you would like them to correct? Maybe the name of a location is wrong, or the location is wrong. When you report the issue to Apple, they will then correct the issue if needed. I have done this several times with a good success rate. To report an error or issue, just open Apple Maps, find the location with the error and tap on Report an Issue. From there, tap on the type of error it is, correct it, and then submit the fix. Apple will then investigate the issue and fix it. If you opted to be notified once it is corrected, you’ll get an email from Apple when the issue is corrected.
Easily Adjust the Brightness of your Flashlight on the iPhone
/in Newsletter Premium, Newsletter Preview, Social Share, vTip for iPhone/by Dan WassinkDid you know you could adjust the brightness of the Flashlight on your iPhone? Just open your Notification Center and 3D Touch (press and hold firmly down) on the Flashlight icon. For iPhones which do not have 3D Touch, you can tap-and-hold on the Flashlight icon. Once you do this, you’ll see a slider. Just drag that slider up and down to adjust the brightness.
Tutor for using AutoFill with Forms and Passwords is now available
/in Latest Tutorials, News from Noteboom, Newsletter Premium, Newsletter Preview, Social Share/by Dan WassinkMy latest tutorial, Tutor for using AutoFill with Forms and Passwords is now available. Learn how to use autofill in Safari on your Mac. I begin by covering what options you have with AutoFill and how to enable the different features. From there I go into how you can reduce the risk of someone using your autofill information while you are away. Then I get into the details of each of the AutoFill features including autofilling forms using your contact information, autofilling usernames and passwords, autofilling credit card forms, and autofilling other forms
What you’ll learn:
- What the different features for AutoFill fill are and how to enable them.
- How to reduce the risk of someone using AutoFill on your Mac while you are away.
- Using your contact information to AutoFill a form in Safari.
- Saving your username and passwords when on a site in Safari.
- Autofilling usernames and passwords when visiting a site you’ve visited before and you need to log in.
- Create strong passwords for websites.
- Entering credit cards into Safari and then using those credits cards when purchasing online.
- Deleting information from websites when used for other forms.
Take a look at Tutor for using AutoFill with Forms and Passwords.
Add your Favorite Bookmarks to Safari’s Toolbar on the iPad
/in Newsletter Premium, Newsletter Preview, Social Share, vTip for iPad/by Dan WassinkSee how easy it is to Gift a Membership
/in News from Noteboom, Newsletter Premium, Newsletter Preview/by Dan WassinkDo you have a family member or friend who could benefit from a membership to Noteboom Tutorials? Did you know you could buy them a membership? When you gift a membership, your recipient will create their own account and have instant access to all the tutorials, lessons, and tips on the site for one year. Gift memberships are not a subscription and will not renew at the end of a year. It’s easy! Take a look at my new video to see how easy it is. There is one catch though – only members can gift a membership at this time.
Noteboom Tutorials is now Faster
/in News from Noteboom, Newsletter Preview/by Dan WassinkThis article is more on what’s new with my site than anything else. What’s new? It’s faster! For a while now (years?), I’ve been trying different things to make my site faster. This included upgrading my hosting plan, playing around with cache, and using content delivery networks. I’ve also hired WordPress developers to help in speeding up the site. Nothing really worked right or up to my satisfaction… until now. I finally found a way to make my site faster – a new host. It’s always a bit scary to change hosts which is why I really didn’t want to do this, but my new host (https://kinsta.com) made it easy with minimal issues. Kinsta is relatively new in the hosting world and they focus on WordPress only, which is what my site is based on. They also come highly recommended from the company that manages my memberships, Membermouse. So after some research, I thought I’d go for it. The good news is it seems to be working! My preliminary tests are it’s considerably faster. :)
Here are few reasons why I switched.
- They are obsessed with speed and offer resource isolation and automatic scalability.
- They monitor my site 24/7 with DDoS detection and hardwire firewalls.
- They are powered by Google Cloud Platform. If it’s good enough for Google, it’s good enough for me.
- They have automatic backups.
- They have a CDN (Content Delivery Network).
- They have a hack guarantee. They are proactive in preventing any hacks.
- And, of course, they are secure. It’s not a reason why I switched as my last host was too, but it helps.
Now some of what I mentioned above can be handled with WordPress plugins, but with Kinsta, they built most of it in the hosting, so I don’t need the plugins! No more resources being used for a backup plugin as an example. This lets the server do more on getting the pages faster to you.
I’m pretty excited about this as you can probably tell! I still have a little work to do, but this was a big step.
Has this stopped my tutorials? Nope – next week look for an all new tutorial on using Autofill on Safari on the Mac. This includes autofilling forms using your contact information, autofilling credit card forms, and most important, autofilling username and passwords!
If you have any questions, or even more though, if you have any issues, start a chat with me below or let me know via email.
Thanks!
Dan Wassink
Noteboom Tutorials had a Slight Redesign making it Easier to Use
/in News from Noteboom, Newsletter Preview/by Dan WassinkOver the course of the last week or so, I’ve been tinkering with the site. One thing lead to another and now the site has been slightly redesigned with the goal of making it easier to navigate and use. What has changed?
- Fewer Menus: At the top of my site I reduced the number of menu options available. It started getting a bit confusing and I thought I’d simplify it a bit by reducing the options.
- All the Tutorials are on a single page: I moved all the tutorials to a single page and added a navigation menu to the top of the page to go to a specific device’s tutorials. I also reorganized how the tutorials are displayed.
- All the Tips are on a single page: Similar to the tutorials, I moved all my tips to a single page. I also categorized my new Video Quick Tips. You can click on the menu at the top of the page to go to a specific category.
- Account Page: I simplified the Account page by removing information that is not needed, like the address and shipping information.
- About Me: I updated the About Me section. The information was getting a bit dated, so I thought I should update it.
- Contact Us is now called Support: The Contact Us page is now called Support, being that’s really what it is. If you want to contact me, use my Chat located at the bottom right of your browser.
- Chat: On the chat, I made the footprint smaller so it is not covering as much of my site. Now it is just a bubble in the lower right. Click on it to start a chat with me.
- Member Dashboard: I moved things around on the Dashboard. Basically I moved the text about your membership to the sidebar. When I did this, it brought up or gave more room to show what is new in my tutorials and tips as well as gave easier access to the tutorials you are currently taking.
- Sidebars are now all on the left: In the past, I had the sidebar on the left or right depending on the page your were looking at. This was not very smart as it moved from page to page, again depending on what page your we’re on. Now all the sidebars are on the left.
- Other changes: I made other small changes that should make your experience better, but they are more minor and behind the scenes as they say.
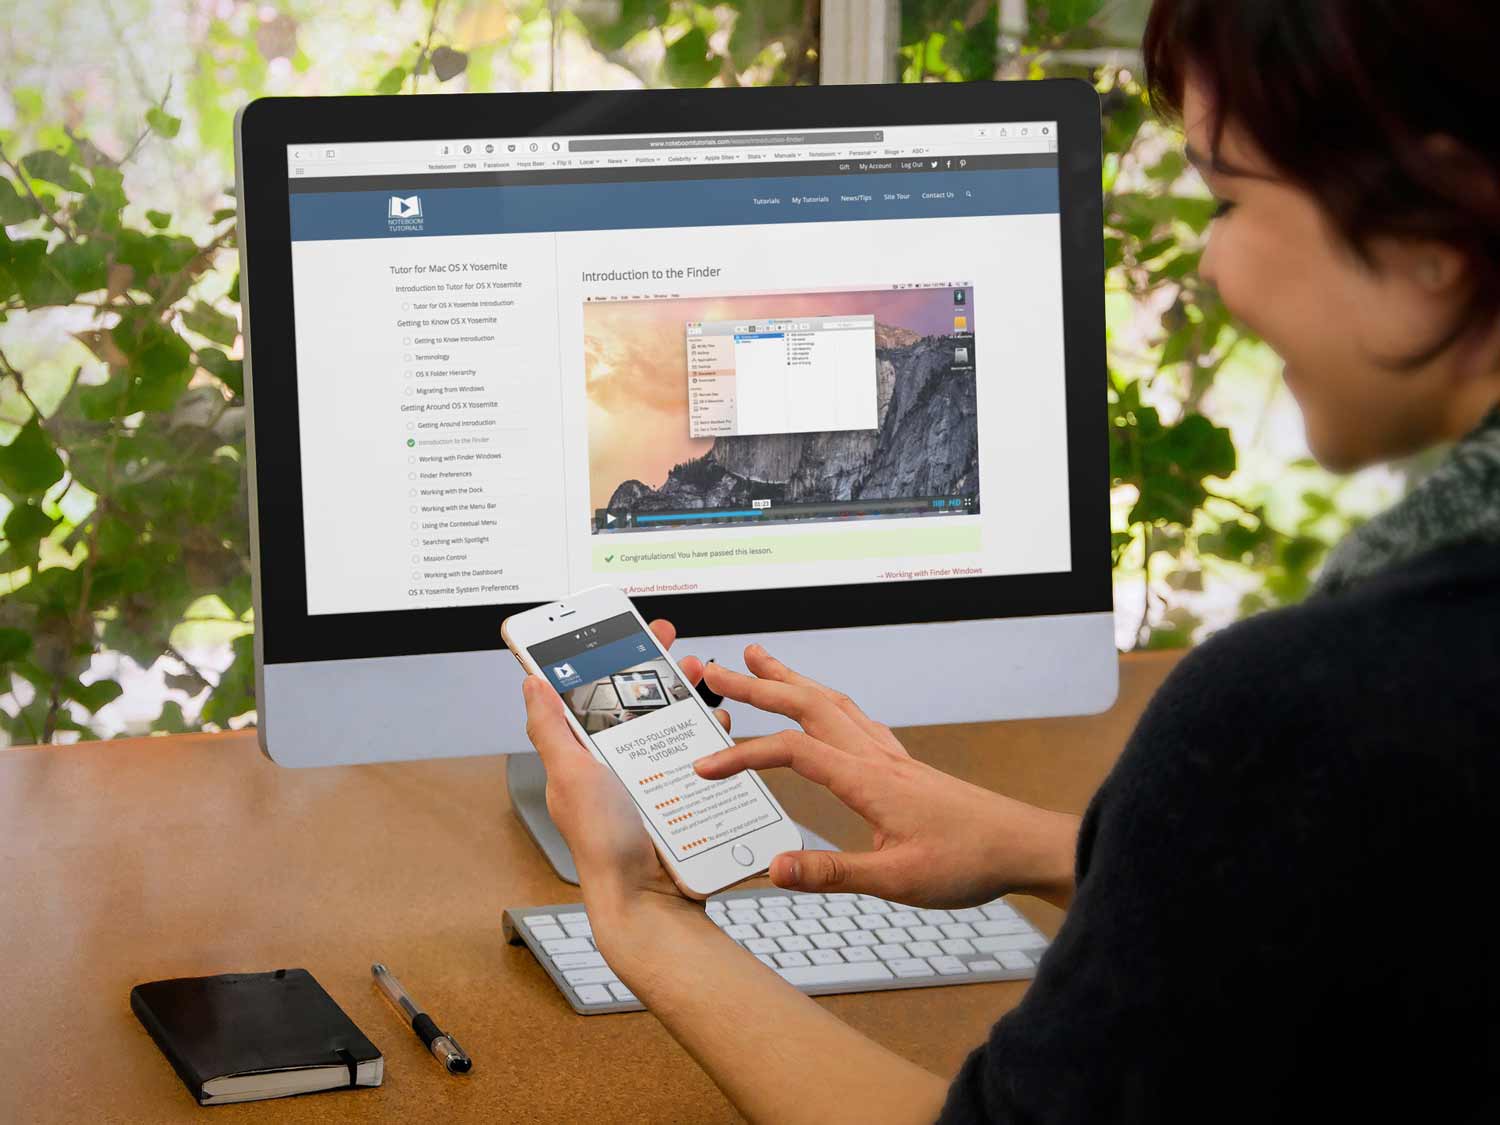
Knowing myself, I may make a few more changes as I play around with the site. If it is major, I’ll let you know. In the meantime, take a look at my site tour which shows how the site works. If you have any questions, please do not hesitate to ask. – Dan
Change the Dock Position on your Mac
/in Newsletter Preview, Social Share, vTip for Mac/by Dan WassinkWhen the Dock is placed at the bottom of your display, it can take up quite a bit of space, space you need for your Finder and and app windows. To free up space, move the Dock to the left or right side of your display. Just open System Preferences and select the Dock Preference Pane. From there you can set the position of the Dock on your Mac.